



















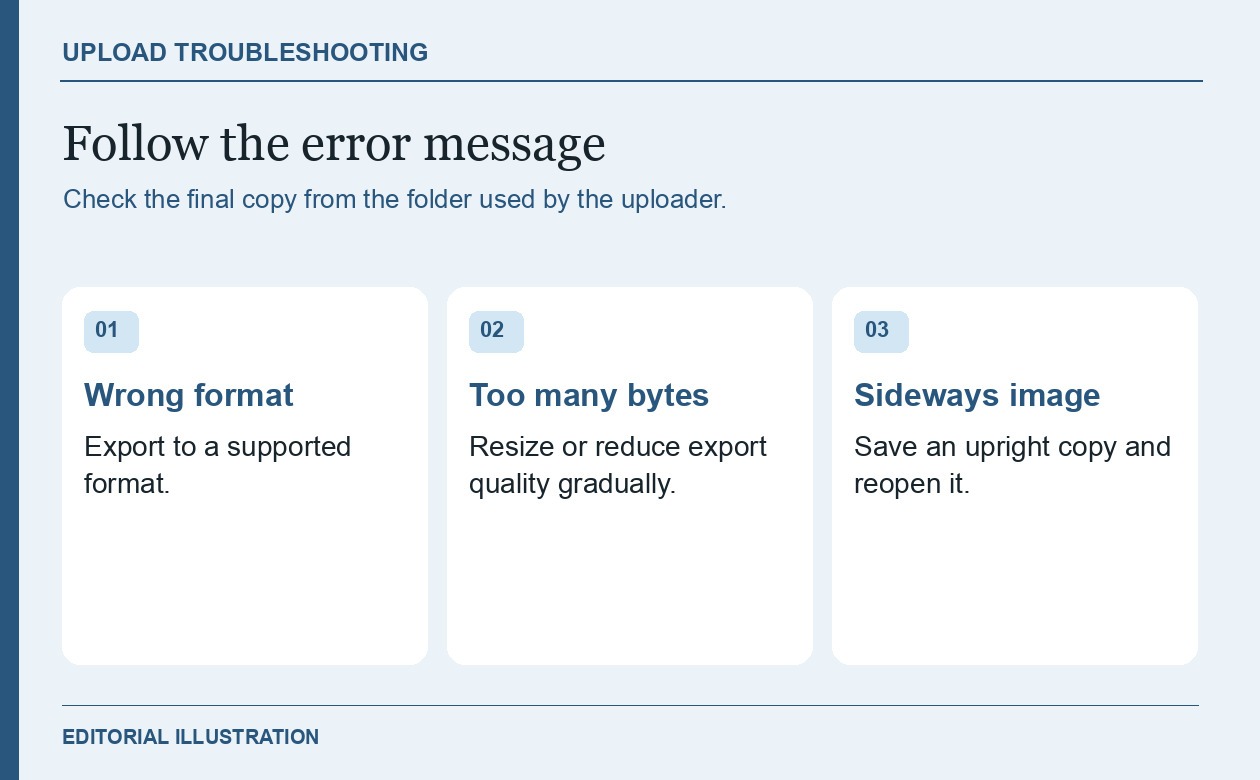
When a phone photo exceeds an upload limit, first check the destination’s accepted formats and dimensions. Export a compatible copy at a suitable pixel size, then lower quality only if the resized copy still exceeds the byte limit. Open the saved file from the same folder you will upload from and confirm the details and orientation.
This article was prepared for Uyo as a sponsored placement. The dimensions in the example are a proposed test, and the file sizes will depend on your image and encoder.
The saved file is what the next tool will receive.
Read the upload instructions before opening a compressor
Check whether the site lists a file-size limit, a pixel limit, accepted formats or some combination. A file can meet one of those requirements and still fail another. An uploader that accepts JPEG, PNG and WebP can reject an HEIC image of the right size. Some tools also display a second set of settings for the generated output. Those describe the output rather than the file you can upload.
If your phone uses HEIF, use a trusted editor or export feature to make a compatible copy. Apple explains the supported HEIF options and conversion paths. Use the export or share setting rather than simply changing the extension in a file manager. A different name leaves the underlying image format unchanged.
Decide what must survive the export. A photo of a paper form needs readable small characters. A pet photo might need sharp eyes and clear fur around the ears. A product reference may need the edge and shape of the packaging. Open that detail at a comfortable zoom in the original before choosing how far to resize.
Test one resized copy before changing quality
Suppose the original is a portrait-oriented 3,000 × 4,000-pixel photo of a small lamp. In this example the destination allows JPEGs up to 2 MB. Use your destination’s own limit in the same decision. Try a copy with the long edge around 2,000 pixels as a starting point. Stay above any minimum dimensions for the destination. This example halves both dimensions and reduces the pixel count to a quarter. How many bytes the exported file uses depends on the image and the encoder. Inspect the seam, switch or text you care about. If the copy is already below the limit and meets the purpose, keep it.
For one controlled example, a synthetic 3,000 × 4,000 JPEG at quality setting 95 measured 7,643,962 bytes. Resizing a clean source to 1,500 × 2,000 and exporting at quality 88 produced 1,236,390 bytes. At quality 78 the same resized source used 977,871 bytes. For this example the first resized copy already met the size limit, so you would keep it if its seam and switch both remain readable. These figures apply to the sample and this encoder.
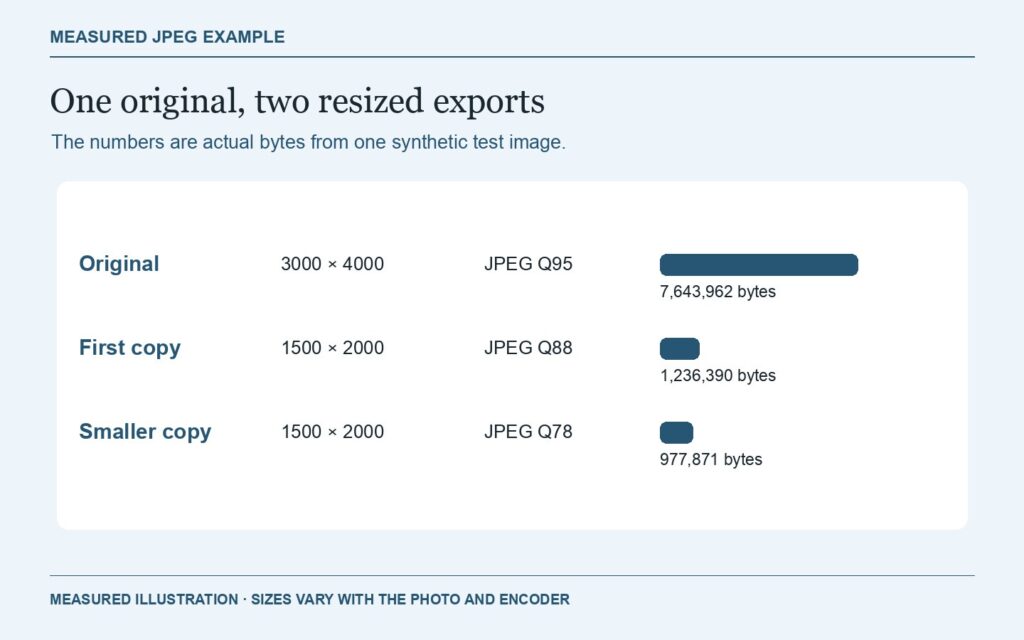
If the first resized copy fits the destination and still shows the key detail, stop there.
If more reduction is needed, try a slightly lower export quality setting on the same resized source. Bar scales differ between apps, so check the saved size directly. Export again from a clean source whenever possible. When you compress a previously compressed copy, the second pass can preserve the earlier artifacts and add new ones. If the photo contains small text that you must preserve, isolate the relevant section first and compare it before reducing the full frame further.
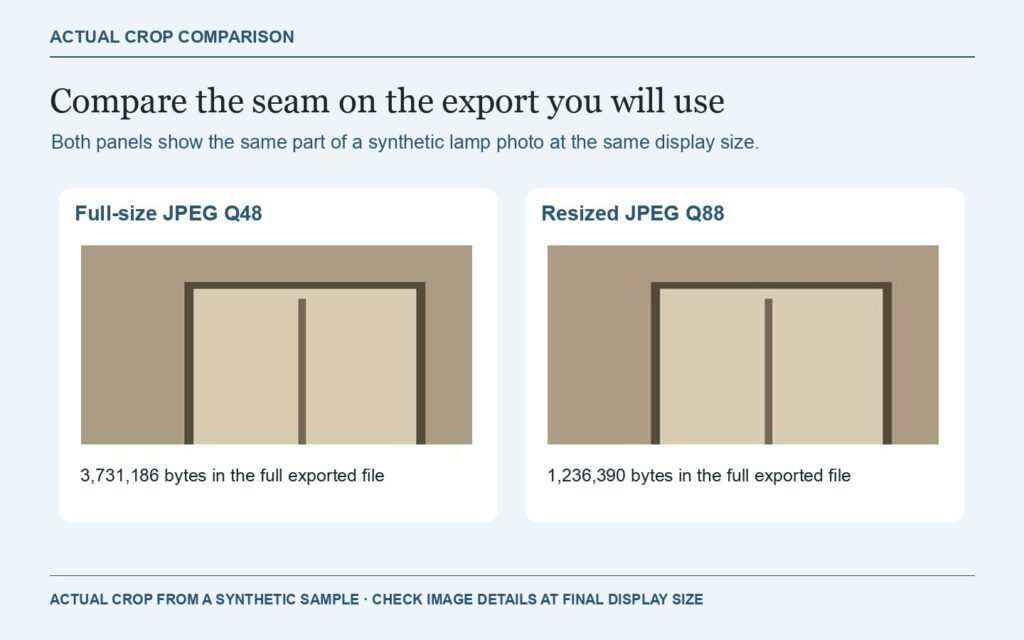
Judge the seam at the actual viewing size. Check the complete file’s bytes separately.
PNG can be a useful format for flat graphics, transparent edges and some screenshots. It can also produce a large file for a detailed photograph. When the image is a normal photograph without transparency, a compatible JPEG copy is often a sensible first test. The quality difference is something you can inspect directly on the saved export.
Verify the copy outside your editing app
Open the saved file from the place you will choose it when uploading. Read the extension and file size in its information panel. Look at the whole image and check that it is upright. Some editing apps read stored orientation information automatically, while another workflow may display the same file differently. If the orientation is wrong, rotate it in the editor, save a fresh copy and inspect that new file as well.
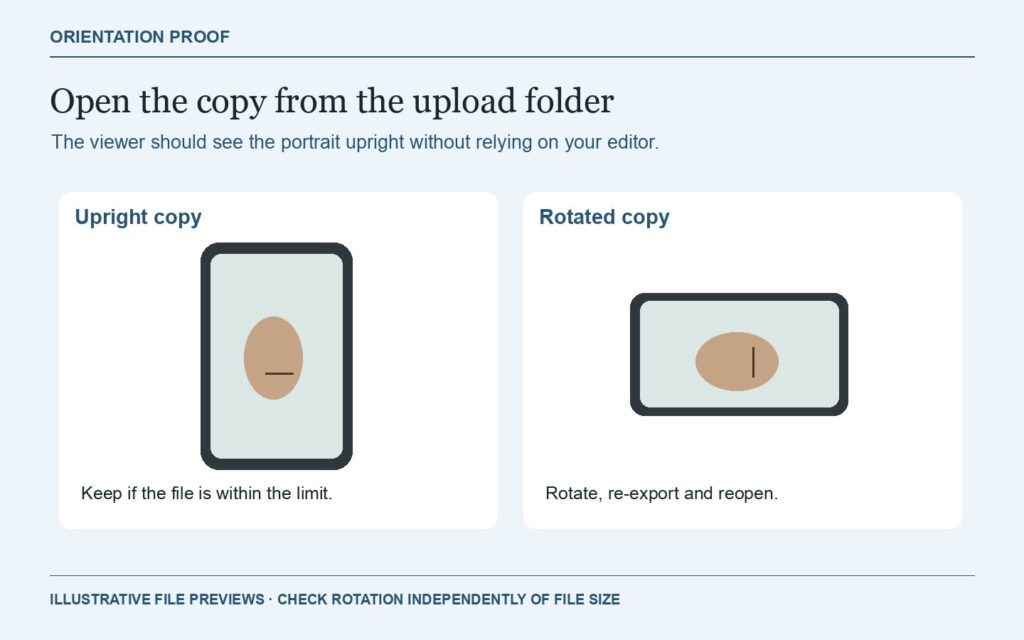
Reopen the saved export outside the editor and check it is upright.
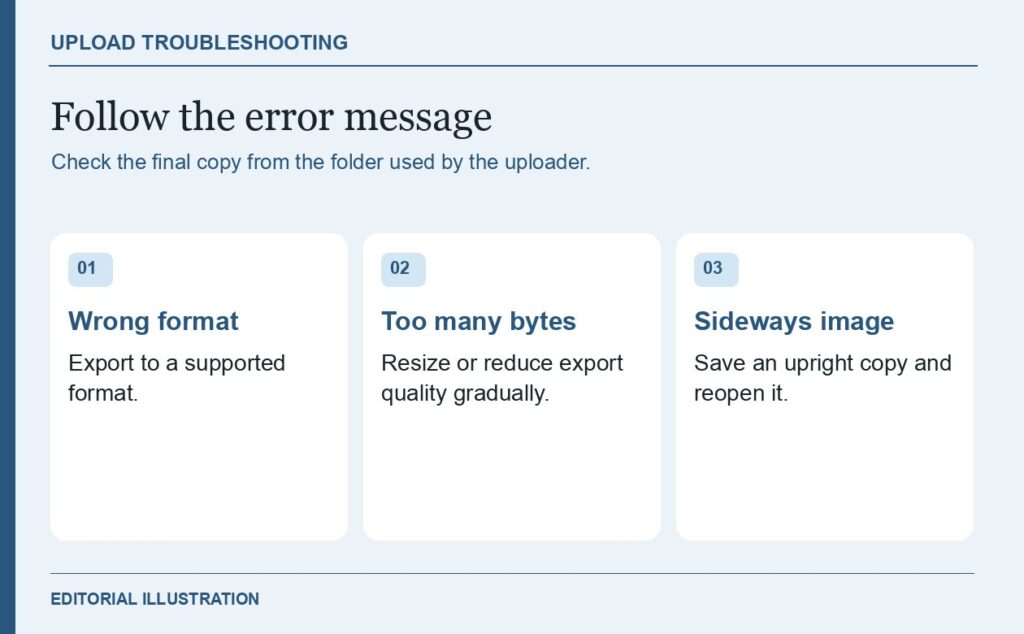
Fix the error the destination actually reports.
If your next step is a reference-based edit, Uyo’s AI photo editor lists PNG, JPEG and WebP inputs up to 2 MB. For a lamp photo, compare the exported shade, switch and edge against the original before choosing that file. Different apps have different limits, so confirm the current requirement wherever you are uploading.
When a file still fails, consider the error text before trying a smaller copy. For a format warning, make a new export in a supported format. For a size warning, confirm the bytes of the file you selected. For a sideways upload, save an upright copy and reopen it outside the editing app. Keep the smallest copy that resolves the actual problem and still shows the detail the next step depends on.
Keep originals and upload copies in separate folders. For a repeated workflow, name the exports with their intended destination and long-edge size. A future edit can then begin with the original while the correctly oriented smaller file remains available for a retry.